What is the first thing a child sees when they come towards your classroom? Well, a door, of course. Just like in our homes, a welcoming door starts the day off right. Today, I have a fun DIY Project to spruce up your classroom door and a free printable! If you are decorating next year […]
What is the first thing a child sees when they come towards your classroom? Well, a door, of course. Just like in our homes, a welcoming door starts the day off right. Today, I have a fun DIY Project to spruce up your classroom door and a free printable!
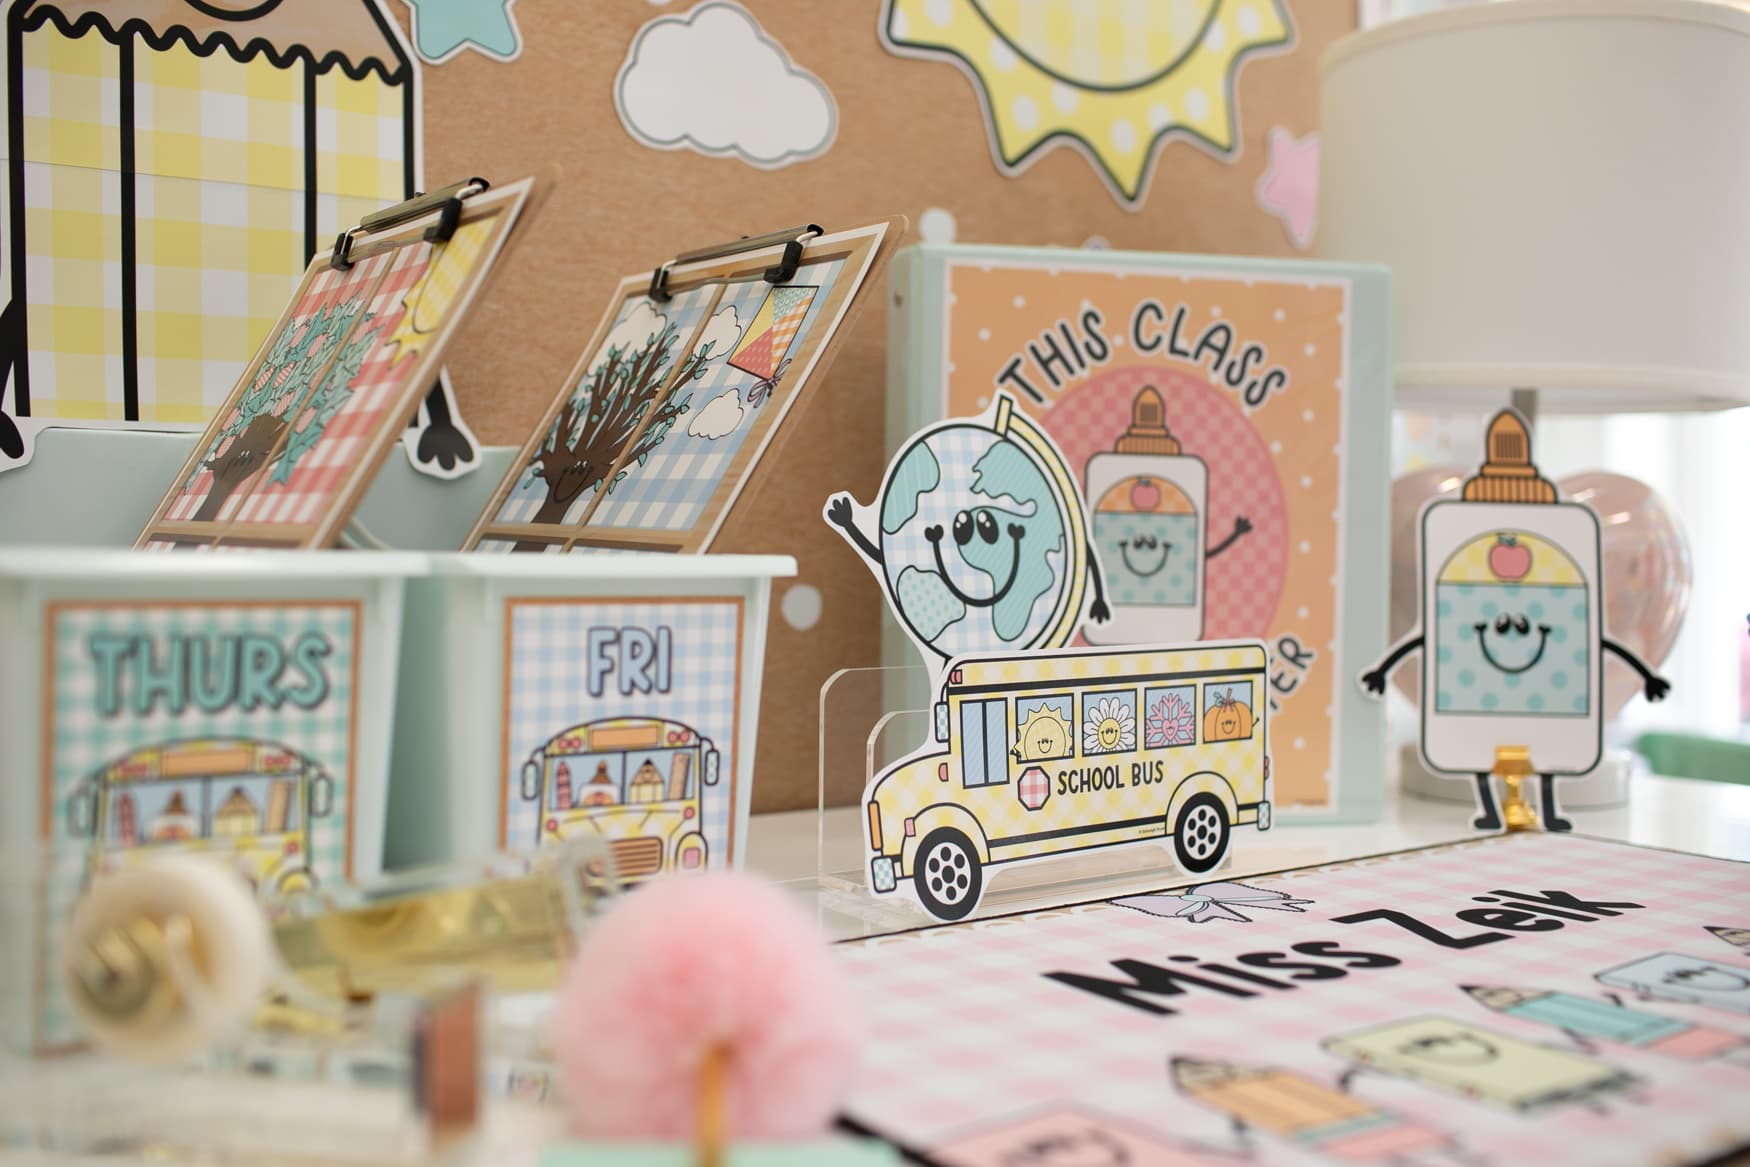
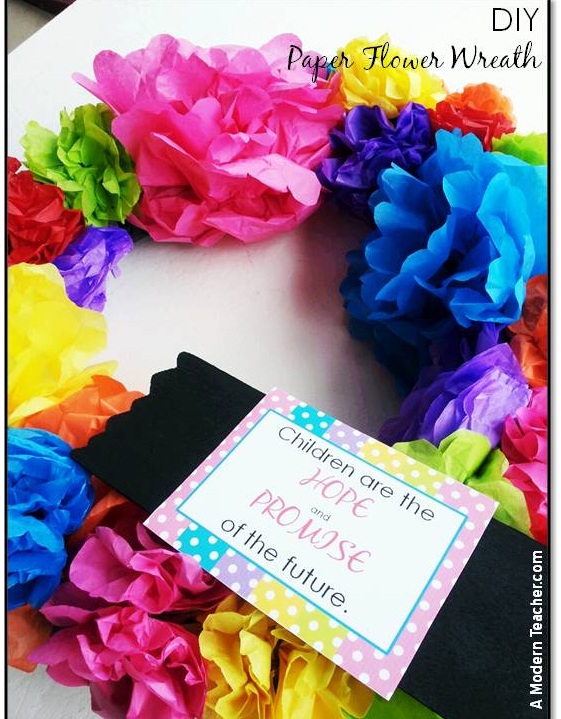
If you are decorating next year with the rainbow theme your classroom will be full of color, brightness, and warmth. How fun! I had so many ideas on what to add to your classroom with this…it was tough to make a decision on just one project! However, I really wanted to share with you something SUPER EASY and hardly any moola. On to the project…. How To Make a Paper Flower Wreath

Supplies:

1. Tissue paper in a variety of bright colors
2. Scissors
3. Ribbon
4. Hot glue gun
5. Insulation piping (I found this at Home Depot for less than $1–beats the 7.99 I saw at Hobby Lobby earlier that day)
6. duck tape
7. small board (optional)
8. paint for board (optional)
9. printable (optional) which you can find HERE

(and the picture shows some markers but I decided not to write anything on the board–although you can!–I was going to write “Welcome” so… get creative 🙂
Procedure:
1. Cut piping the desired length and size of wreath. (I made mine pretty big-just personal choice) using plain scissors
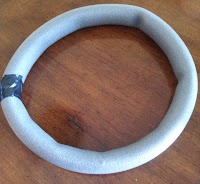 2. Tape the piping together using duck tape (it is not the most perfect circle but that is ok because the flowers hide the imperfections since they are so big
 3. Paint the small board desired color (I used black)

3. Make the flowers using this tutorial HERE (had to have my starbucks too 🙂
4. Glue the flowers onto the wreath using the hot glue gun. Just mix it all up.
5. Print out the printable found HERE (I printed on white cardstock), cut it out
6. Glue the printable on the board
7. Hot glue the board on the wreath (tricky but stays)
8. That’s it! Hang where desired (you could also hang it on a window)
Took about 2 1/2 hours. Less than $5!!!
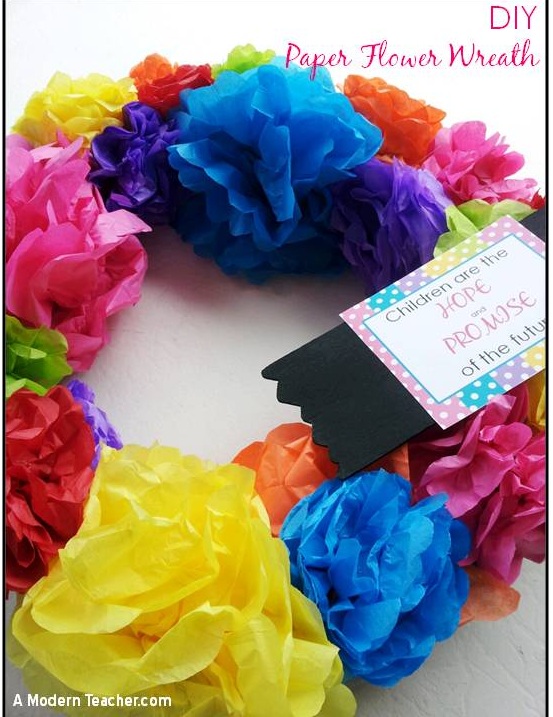
Now you have yourself a fun little/big wreath! And a free printable in a few different sizes. I wanted to make them just in case you wanted to frame it or something. There is one in an 8×10, 4×6, 5×7, and the random size I used 🙂 Have fun!
A big thank you to Melanie for letting me visit y’all! This was so fun to put together!

April is the creator of A Modern Teacher Blog. After 11 years of teaching, she stays busy with her new baby and 3 year old. She blogs about DIYs, Craftivities, and Creative Fun for the elementary teacher. April is passionate about helping teachers stay creative in the classroom.
Share the Style!